
Need help checking the size of your artwork? Here's an easy guide to get you through the basics of size checking in Adobe Photoshop CC 2020.
1. Let’s start by opening the art. In the Layers panel, double check that no layers have a small lock on them saying the layer is locked. (You won't be able to select the layer or its contents if it is locked.) *If you don't have this open already, you can find it under the menu bar Window > Layers. Ours is in the first section of our tools on the right hand side of the screen. 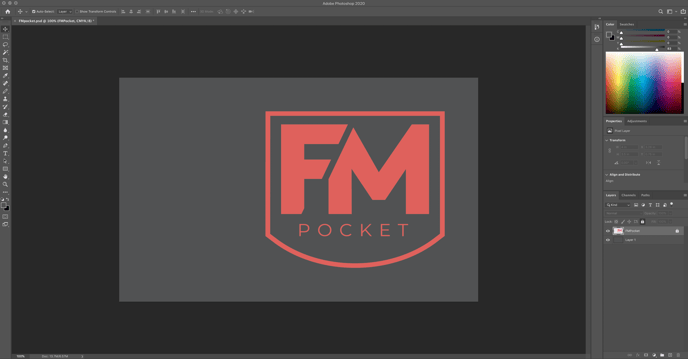
The design FM Pocket, should be 4 inches wide ( W) by proportional height (H) so that we can press it on the pocket areas of garments.
2. If the lock symbol is there, click on the layer you want to unlock, and then click the lock right above. This will unlock the layer so that you can make edits on the layer.
3. Now that you've confirmed the layers are unlocked, select any layers you don't need (for example, we have a background layer) and tap Delete on your keyboard.
4. Select the 'Crop' tool on your toolbar. You may also access the 'Crop' tool under the menu bar Image > Crop.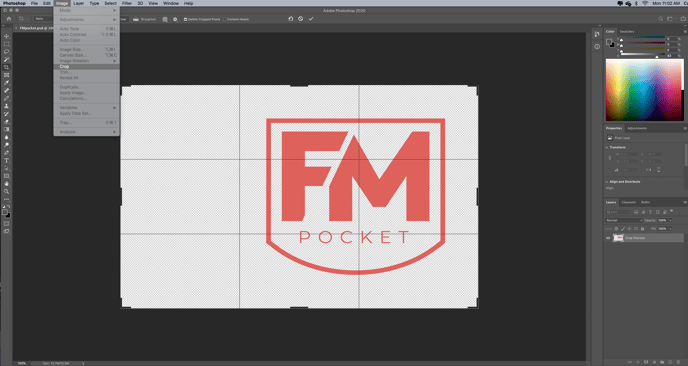
5. Click and drag the edges of the art board so that they snap to the artwork. You'll want to do this for all four sides of the art board.
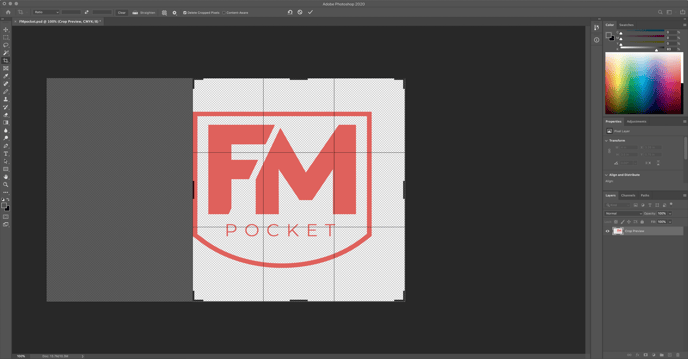
6. Once all four sides are snapped to the artwork, tap Enter on your keyboard to apply the crop. You have now cropped your art board to your artwork!
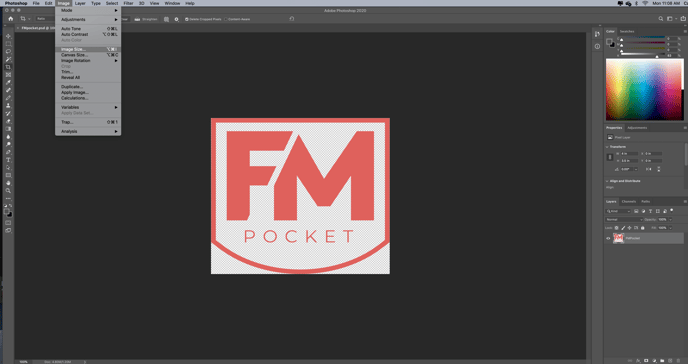
7. Now you'll want to bring up your Image Size dialog box. You can find this under the menu bar Image > Image Size.
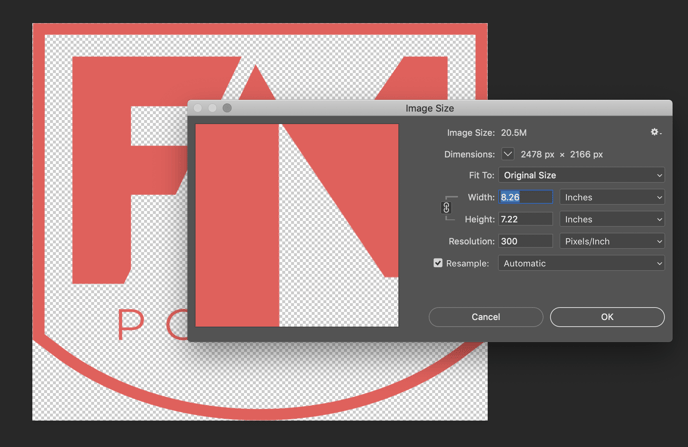
8. The Image Size dialog box is listing the size of my artwork at 8.26" Wide by 7.22" High and at 300 resolution.
How do I change the size of my artwork?
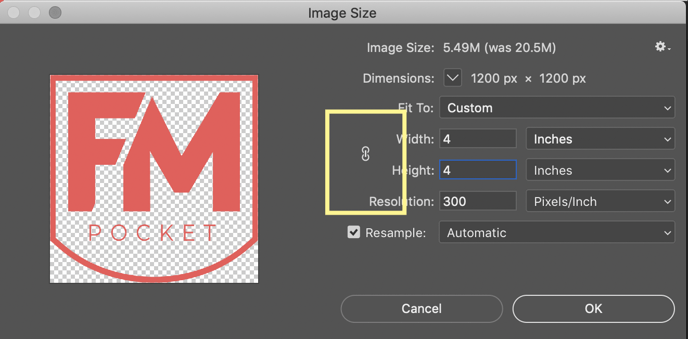
1. The Image Size dialog box allows you to type in the size that you want to adjust the artwork to. Highlight the Width box, type in 4 and tap Tab on your keyboard. You'll notice that Photoshop has calculated the proportionate height according to the width you just typed in.
- Notice the chain link icon to the left of the Width and Height. When the chain link icon appears this way, connecting the Width and Height, any size adjustment will be proportionate.
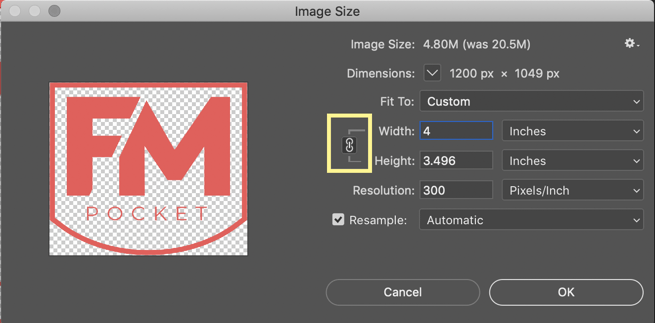
- If the chain link icon appears this way below, without the lines linking Width and Height, Photoshop will allow you to input the exact dimensions you want, effectively skewing the image.
2. Once you have input the size you're looking for, click Ok.
Congrats! Now that your artwork is the correct size, you can Save as a PDF, and you're all done.
Still need help? Reach out to our Art Services Team.