
Need help checking the size of your artwork?
Here's an easy guide to get you through the basics of size checking in Adobe Illustrator CC 2020.
1. Let’s start by opening the art. In the Layers panel, double check that no layers have a small lock on them saying the layer is locked. (You won't be able to select the layer or its contents if it is locked.) *If you don't have this open already, you can find it under the menu bar Window > Layers. Ours is in the first section of our tools on the right hand side of the screen. 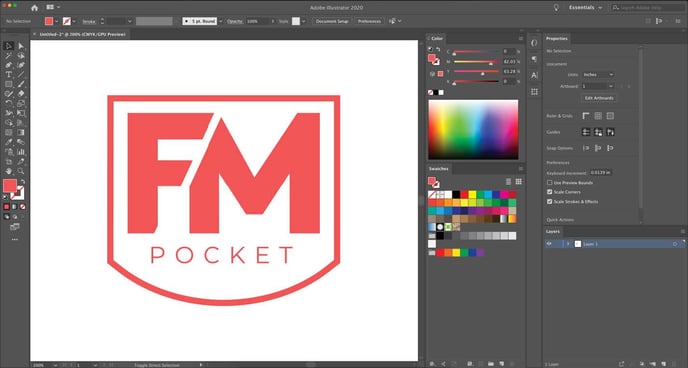
The design FM Pocket, should be 4 inches wide ( W) by proportional height (H) so that we can press it on the pocket areas of garments.
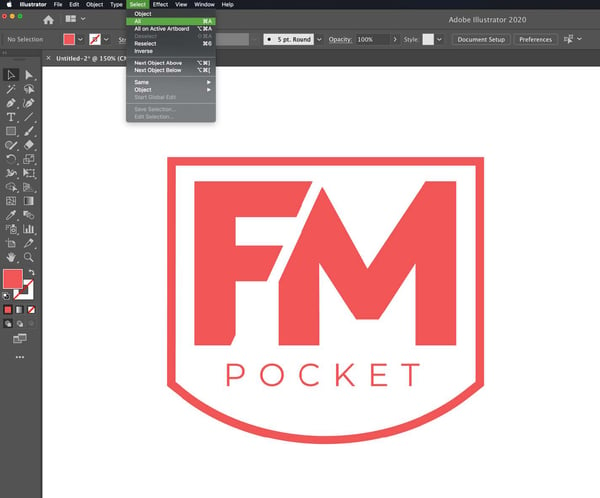
2. Now that the file is open and available, select all of the art to try and find out the size. You can find this under the menu bar: Select > All.
-
This will place a highlight outline around all of the selected art and depending on where you click these small dots will show up. These are just showing that all points/vertices in the art are selected.
3. Now that this is selected, look at the top of the window for an area that says 'Transform' - depending on the size of your user interface, you may only see this:

*The area in the coral square is the important part.
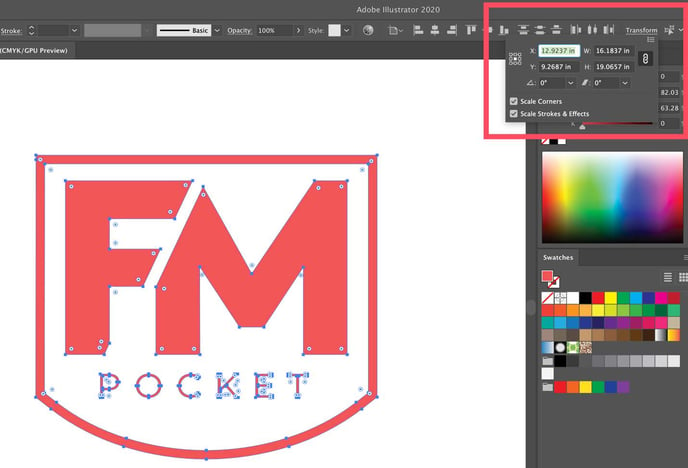
*You may need to click 'Transform' to see the additional box. You may also access the 'Transform' tool under the menu bar Window > Transform.
4. Click the 'Transform; text and a drop-down window will appear. Here you can see that the W (Width, meaning from left to right) is 16.1837 inches and the H (Height, from top to bottom) is 19.0657 inches. This seems way too big for a pocket size design. Zoom out and check if there is anything else accidentally selected. (Keyboard shortcut is CMD + or - for Mac and CTRL+ or - for PC)
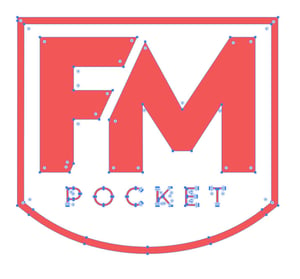
5. T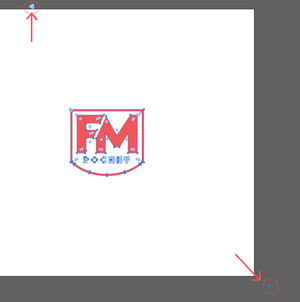 here are some small dots selected at the top left and bottom right. Use the direct select tool (the White Arrow on the toolbar) and drag a box around the area to select just those small dots that are not intended to print. Once just that area is highlighted in blue, tap DELETE on the keyboard to remove it. Repeat for the extra points in the the bottom right.
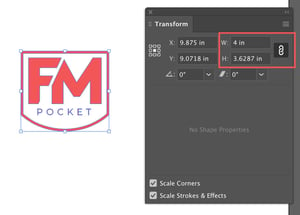
6. Select that artwork. (From the menu bar Select > All. Keyboard shortcut is CMD+A for Mac or CTRL+ A for PC). Review the size in the Transform window again.
7. The size now reads 5"W x 4.5"H.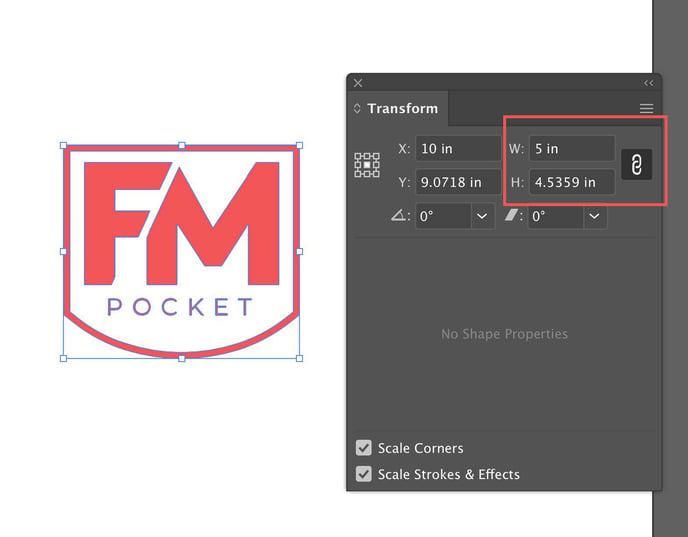
How do I change the size of my artwork?

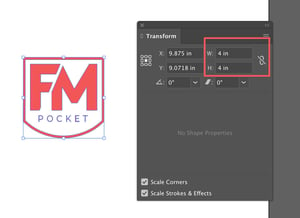
*There is a small chainlink near the size, either between width and heigh, or to the right in the Transform box. When the chainlink appears as it does in the snapshot below, this means if the size is adjusted, it will adjust proportionately.
1. Click and type 4 in the width box and hit Enter on your keyboard. The height will automatically adjust to a proportionate height of 3.62.
*If you would like to size the artwork exactly to 4"W by 4"H, click on the chainlink. You will now see a broken chainlink. This will allow you to resize the artwork disproportionately, or skewed.
2. Click and type 4 in the width box and hit Enter on your keyboard. Then click and type 4 in the height box and hit Enter on your keyboard. You will now see your skewed design.
Congrats! Now that your artwork is the correct size, you can Save as a PDF, and you're all done.